Tag: gaming
Miniature Wargaming Series- 4 Painting the Marines
by Steve Struebing on Sep.24, 2010, under technoPHOBE
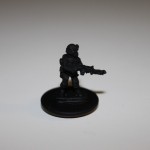
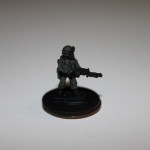
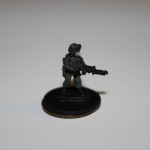
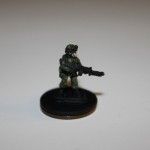
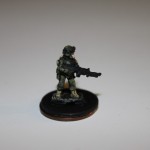
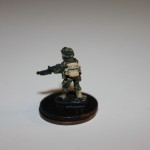
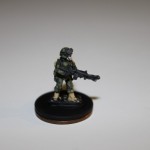
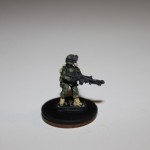
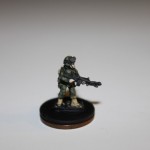
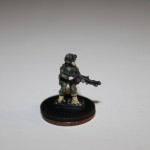
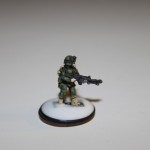
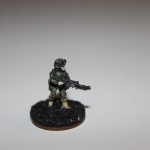
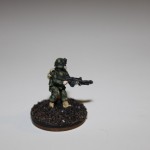
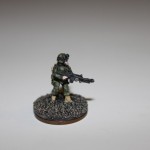
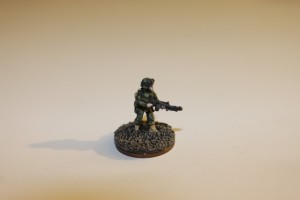
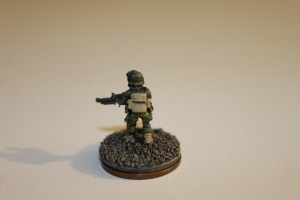
This will be the final installment of my Miniature Wargaming Series. Again, we are covering the Ambush Alley rules system, with minis purchased from RebelMinis. I hope you’ve been able to learn that it is possible to not have to anguish over the last meticulous detail to field a squad or ten. In 15mm I would not go so far to say quantity over quality, but close. For those who have been following along, we’ve made our board, we’ve built our sprawling metropolis, populated it with some ill tempered insurgents with frickin’ laser beams on their foreheads, and now its time for our Marines. We’re good to go…
The Paints List:
- Olive Green
- Medium Gray
- Spanish Olive
- Camel
- Desert Sand
- Black
- Twill
- Acorn Brown
- Medium Flesh
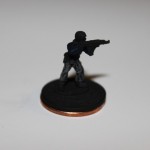
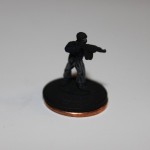
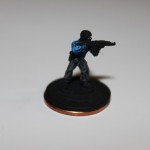
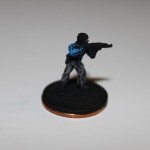
The 50/50 mix is simple. Just blend 50% Olive Green with 50% Medium Gray. Swirl them together and drybrush. This is your basecoat color.
For step 4, you will be using Spanish Olive for the first coverage of camo “dots”. Cover about 50% of the mini. Don’t stress over precision.
Paint the boots solidly in Camel color.
Cover the backpack in Camel. Use top down drybrushing to show some highlighting. For Step 9, you will use the Medium Gray to drybrush the gun and bring out some of the details against he all black primer.
In step 10, take the basecoat mix (50/50 Olive Green and Medium Gray) and mix it with 50% twill. This will result in 50% twill, 25% Olive Green, 25% Medium Gray. Use this to dot as you see fit.
For drybrushing the hands, remember to go against the features to ensure there is a gap for the individual fingers to show. Use VERY LITTLE paint, and just keep going over it. Too much paint and you’ve lost your natural shadows where the primer shows through.
Apply two small black dots for the goggle surfaces. Place your white glue down. Apply evenly with small coffee stirrer, or the like.
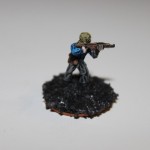
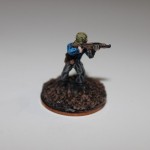
Base: As in the previous post, use black glass-like gravel found in Craft/Hobby store (Michaels). Once the base of Acorn Brown has been applied, it will form a nice base coat.
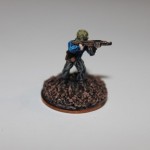
Final step! Take your Desert Sand and highlight the base texture with very light drybrushing.
And there you have it! I hope you give boardgames and wargames a try. This truly is an opportunity to have an old fashioned good time without the need to plug anything in or even know what “log on” means. It is fun, engages the imagination, and hones the skill of detail orientation and making something with your hands. Drop me a line and let me know how your painting goes. Also, if you have a great technique you use, let me know. I am always interested in other people’s hard-learned simple techniques. See you at the table, my friends….
Miniature Wargaming Series- 3 Painting the Insurgents
by Steve Struebing on Aug.27, 2010, under technoPHOBE
Welcome to the third installment of our wargaming series (focusing on Ambush Alley). Just a note before I begin about 15mm miniatures. There are tons of people out there who can make stunning, photo-realistic, perfect minis even at 15mm. 28mm minis can show a lot of detail and painting errors on the table top. However, 15mm minis are more forgiving (and are less expensive to get lots of figures out there). The world is zoomed out just a bit more in that scale. A perfectly painted table top is ALWAYS better, but I don’t have that kind of skill, so this is about how to get that pack of shimmering lead-free lead on the table and made “field grade”, as I call it (as opposed to “demo grade”). It’s not perfect, but at a glance, its good enough.
Miniatures Source:
The minis I am using here are from Rebel Minis. This is where I have also purchased my Regulars troops (the good guys).
Tools/Techniques:
The primary technique used is called “drybrushing”. The intent is that you lightly brush on a LITTLE BIT of paint onto the high areas as the light would naturally fall on the higher regions of the model. Google “Drybrushing” or watch youtube. There are probably 1000 videos out there to get you started. The rule: dip your brush, and brush away virtually ALL of the paint. Then start lightly feathering on the paint across the grain of the high regions. If there are vertical bars raised, brush horizontal, for example.
3 colors of depth look really good, but I use 2 plus the black primer. The trick is using progressively less paint and lighter colors as you move up to the highest surfaces of the mini. Also, the rule is work from the inside out when painting the mini.
You’ll need
- Fairly fine paint brush
- Fine black stone (craft store. Looks almost like ground up volcanic glass)
- Black spray primer (hobby store)
- Penny (for the miniature base)
- Elmer’s glue for the mini/penny
- Minis
- Assortment of acrylic paint (get it at any craft store)
- Spray sealer (hobby store)
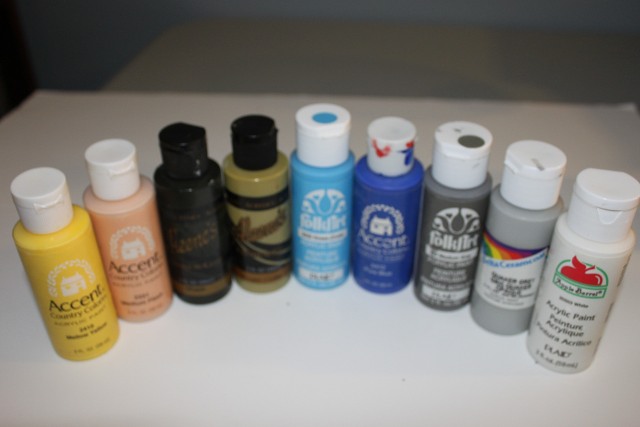
Here is the full assortment of paint I used for this mini:
- Pure White
- Black
- Dusty Khaki
- Ocean Blue
- Blue
- Medium Gray
- Quaker Gray
- Medium Flesh
- Acorn Brown (oops, didn’t make it into the picture)
Mini Prep
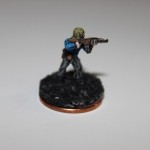
Cut away any of that extra metal hanging off the mini that is a result of the casting process. That crap is called flash. Next glue the mini onto the center of your penny. After the glue has dried, use your black primer. A couple coats sparingly, but cover fully.
Completing the Miniature Base
A little bit of work really goes a long way towards the overall look of the miniature. It gives the figure a real world look, and sets up a nice contrast for the rest of the mini detail. I’ve chosen fine black stone, and will dry brush 2 “sand” types of colors over the top.
Completed Figure

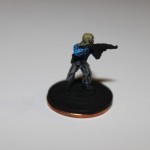
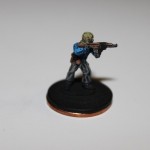
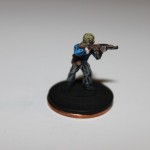
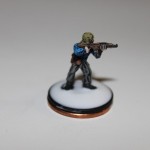
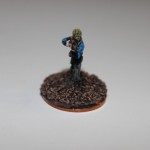
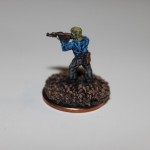
Paint black around penny edge, yellow to mark him as a "leader" in the game, and seal the mini. Done.
And there we have it. You can use all different mixes of pants and shirts colors. Mine are a good mix. Also, the minis are good to do in batches because you can be working on the next mini as one dries. It’s kind of a like an assembly line where you do all the same parts that are the same colors at once. You’ll have your baddies on the table in no time! Good luck!
Miniature Wargaming Series- 2 Making Terrain
by Steve Struebing on Aug.21, 2010, under technoPHOBE
In the last post, we got a simple sense of what this whole wargaming thing is, and have our own 2 feet solidly beneath us (for those paying attention, its a 2 feet by 2 feet board). Now, lets get on to arguably the most fun part of the whole deal: Making Terrain.
As I mentioned in the last article, my grandfathers were great at modeling life in miniature. This is the appeal of meticulously detailed model railroads. While non static, once they are set up they are set up. This is where wargaming is set apart. You can reconfigure, and use the terrain to play a game. Well, let’s get cracking here. We have a city to build.
Foam Board Selection
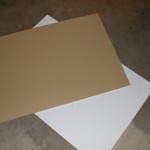
The first step is foam board for building our houses. Pick it up at local craft store. Lots of colors available, but brown, tan, black, and white are probably the best for you (depending on the region you want to model for your wargaming).
Cutting Foam and Scale of Minis
First, a note on scale. I am sure that it’s well posted somewhere, and there are lengthy dissertations on the matter, but I homegrew scale. First, I took a look at an upright standing 15mm miniature, and he measures approximately 3/4 of an inch. If an average man is 6 feet tall for these purposes, then its 2 feet per 1/4 inch. Thus, for a one story building at 10 feet per story, it should be 1 1/4 inches per story.
Prescribed Cutting Widths:
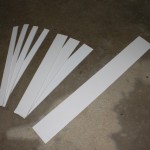
- 1 1/4 inches (for the reason noted above. For 1 story buildings.)
- 2 1/2 inches (for 2 story buildings)
- 4 inches (for roofs for buildings that are 4 inches long and wide)
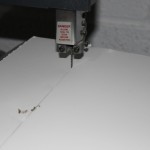
A bandsaw is simply magic for cutting foamboard. It is loud as hell indoors, so wear ear protection, but it cuts perfectly every time.
Measuring, Cutting, and Scoring the Foam
In this example, we are going to walk through the creation of a 4 inch square, one story building.
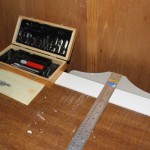
- T-Square
- X-Acto Knife
- Cutting Surface
- Measuring device (ruler, whatever)
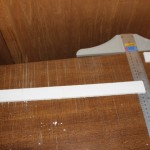
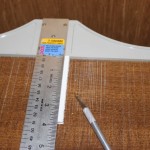
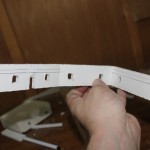
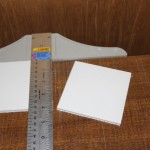
Take one of your 1 1/4 inch strips and for the FIRST measurement, mark 4 inches, plus 3/16 inch. This little extra is to account for the thickness of the cardboard when you fold your box so it will be perfectly square. This only has to be done for the first wall, because the additional 3/16 inch will glue to the opposite wall (covered later). Just remember the 3/16 inch for the thickness of the foam. You’ve got to account for it in several places.
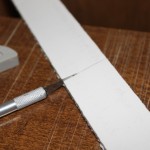
Now the scoring bit. This is to cut through the outer layer of paper and a bit of foam so you can bend it at an angle. DO NOT CUT ALL THE WAY THROUGH!
Test Fit and Cutting Windows/Doors
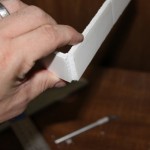
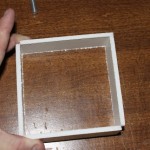
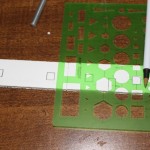
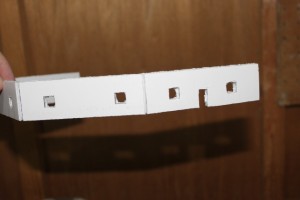
We’re starting to get somewhere now! Ok, next just do a fest fit to make sure the corners are square, and you’ll see how the extra 3/16 inch lip fits against the edge of the wall flushly. For windows, I have a little square stencil I use to draw squares and rectangles. For windows, put their center about 1/3 up the wall, not at the midpoint. If you cut them into the midpoint, you will see the roof supports through the window, which is unsightly. How DARE you. You could opaque the windows with some tissue paper in the back, but I am not that hardcore. Just use the damn 1/3 up rule, will ya?
Next cut out the windows and door carefully with your X-Acto knife.
Becoming a Roofer/Closing the Deal
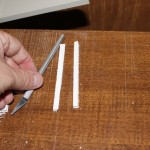
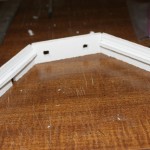
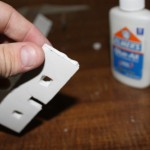
We’re now at the place where we are going to be prepping the roof supports. Its nice to have a slightly recessed roof so the minis look like they are down on it, and its nice when you stack other buildings on top. I recess it about 1/4 inch. First, we cut roof supports. These are thin strips that are 4 inches in length or less for this house. They obviously can’t be longer than a wall because the house won’t fold into a square otherwise.
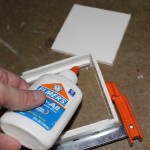
Now, mark your lines for where the stips will go. 1/4 down from the top for the recession, 3/16 to account for the width of the roof, and another 3/16 for the width of the roof supports. I glue them in edge on.
Now, we cut a 4inch x 4 inch roof off our other strip, apply glue to the roof supports, and let it dry. We are almost all done now.
Home Sweet Home
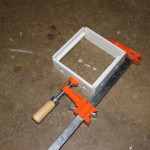
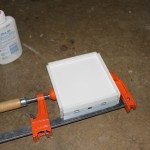
Now, we’ll put the roof on, and admire the handywork as it dries.
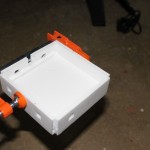
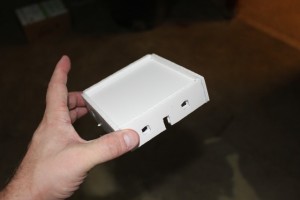
All built and dried it should look like this and be ready to remove from the clamp.
Texture, I didn’t even know her…
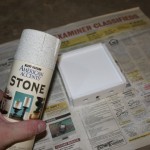
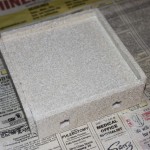
Now we apply a textured spray paint to give the house a stone look and feel.
Home on the Range, building your town.
Well, you’ve done it. You’ve build your first building. Now, you can vary number of stories, width, etc., using the same technique. I really primarily rely on 4 inch, and 2 1/2 inch square buildings. They stack well, and can create a nice little town. Enjoy the tour…
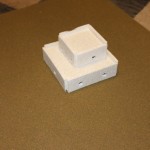
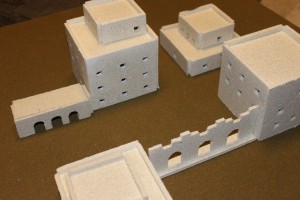
Oh wait? The STACK? This is a 2 1/2 inch square on top. You'll also use the 2 1/2 to roof. It's a good system!
Going into Mass Production, and Building The Metropolis
Build, build, build. Get creative with walls, decorations, and stuff lying around the house.
Accessorize for Realism
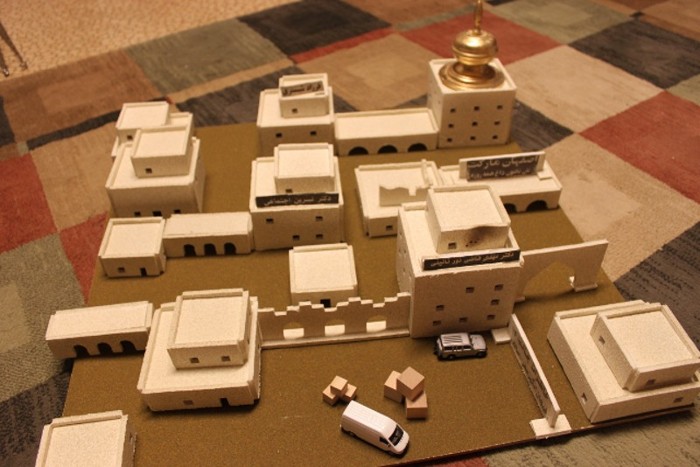
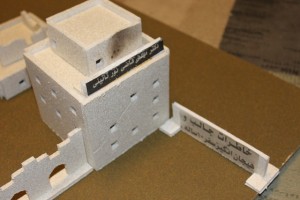
I don’t know a lick of Farsi, so I went to my favorite neighborhood kebab place and got a regional newspaper to make signs. The Kebab e-Kubideh was also delicious. The generally have them there. Look in the advertisements and cut some out for signage.
Finishing Touches
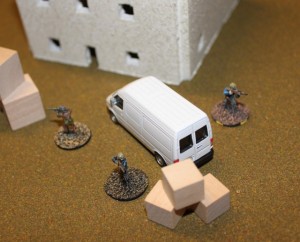
I grabbed some blocks from a craft store, grabbed some scale cars (N-scale, I think?!!) and have a nice little town where trouble’s-a-brewin. Happy Hunting!
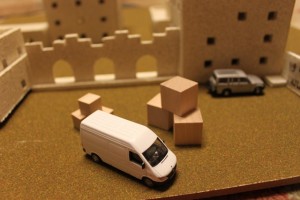
Looks like a delivery for ol' Polymythic. I hope its some chow. It's been a long day building a city from nothing..
I hope this shows you it really is not hard to get going. Your creativity will take you a long way. Look around the craft store. Imagine some of the things you’re about to throw away spraypainted black. If the shape is interesting, you can probably use it. I’m looking forward to taking a virtual tour of your tiny ‘ville sometime soon. In the next post we’ll paint up some baddies to introduce a little turmoil to our currently placid burg.
4/17/2012 Note: Found another blog whose stuff is just too good not to link in.
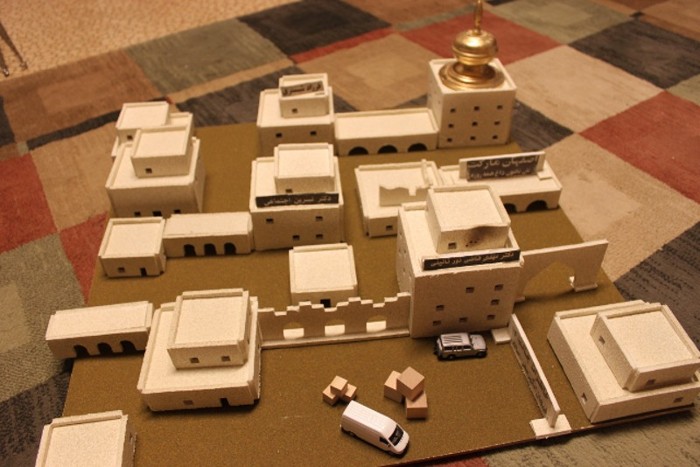
The lights are much brighter there, you can forget all your troubles, forget all your cares, and go DOWNTOWN!
Miniature Wargaming Series- 1 Building the Board
by Steve Struebing on Aug.21, 2010, under technoPHOBE
This will be a slight divergence from technologies vs. anti-technology type projects. I have been an avid player of games for a long time. Perhaps not everyone is aware, but there has been an renaissance of boardgames while the American boardgame market has been fairly dominated by “old favorites” like Monopoly, Stratego, Risk, and others. Not making a judgement here, I do love me some Stratego.
The world of “gaming” is a wide one. The strongest of my callings in terms of hobbies is non-video games (ok, so this CAN qualify as a technophobe post). As a kid we would play Parcheesi as a family. My father never seemed to get the perils of creating roadblocks in that game! When the power went out and candles were lit, we could still play. There was something simple and grounding in that. This is not a boardgaming article, but I simply cannot avoid asking you, the reader, to give some Eurogames (as they are called because of the style of game originating in Germany) a shot. Settlers of Catan, Carcassonne, Pandemic, Ticket to Ride. All are simply fun, challenging, and addicting.
This 4-part series is about a style of game called the “Wargame”. I am not going to dig into the history, but the famous H.G. Wells would play these little games with his sons calling them “Little Wars”. From those humble and imaginative beginnings sprung the miniatures wargame. I have many, but I want to call attention to the one I have invested time into recently. It is a modern-combat (Call of Duty: Modern Warfare 2, anyone?) game of squad level combat titled Ambush Alley.
I will cover the following in this series:
- Building the Board
- Making Terrain
- Painting The Insurgents
- Painting the Marines
My grandfathers were hobbyists and builders. One a model railroad builder, the other making RC planes and small buildings. I truly wish I could have grown up faster, or had them live longer and seen who I am today. We would have had much in common (unsurprisingly, because they consciously or unconsciously set me on this path). We could have built things together. They could have been aware of the impact they had on me, a little boy amazed at their detailed and beautiful craft.
Let’s Start Simple – Building the Board
Battlegrounds can’t happen without the ground, of course, so let’s whip this up. This ain’t brain surgery, but lays the foundation..
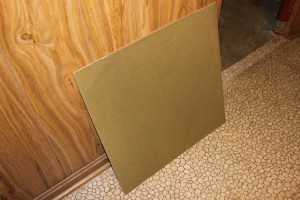
This game is interesting in that it is played on a nice small 2×2 foot board, rather than the more typical 4×8 foot boards. The game is played with 15mm miniatures. As a thumbnail, movement is done by tape measure, combat resolved by dice, etc.
Materials:
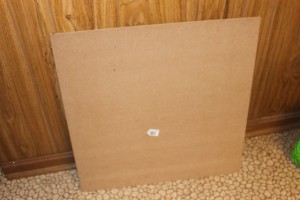
- 2×4 Thin MDF Board (Lowe’s, HD)
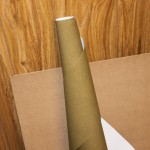
- Railroad Grass Roll (Hobby Store)
- Glue (come on, buddy!)
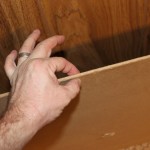
Go to your local Lowe’s or Home Depot, and get a 2×4 sheet of MDF. Ask them to cut it right down the middle, or do it yourself.
As I said, this is super simple. Don’t fall asleep on me, now we can start the good stuff.


