Archive for September, 2010
Miniature Wargaming Series- 4 Painting the Marines
by Steve Struebing on Sep.24, 2010, under technoPHOBE
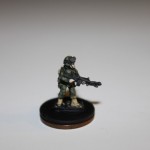
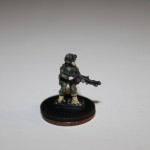
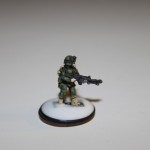
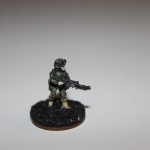
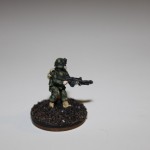
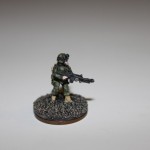
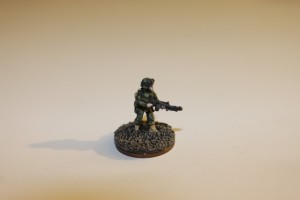
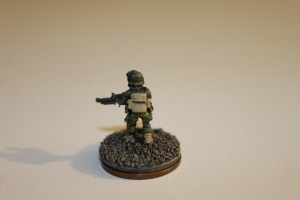
This will be the final installment of my Miniature Wargaming Series. Again, we are covering the Ambush Alley rules system, with minis purchased from RebelMinis. I hope you’ve been able to learn that it is possible to not have to anguish over the last meticulous detail to field a squad or ten. In 15mm I would not go so far to say quantity over quality, but close. For those who have been following along, we’ve made our board, we’ve built our sprawling metropolis, populated it with some ill tempered insurgents with frickin’ laser beams on their foreheads, and now its time for our Marines. We’re good to go…
The Paints List:
- Olive Green
- Medium Gray
- Spanish Olive
- Camel
- Desert Sand
- Black
- Twill
- Acorn Brown
- Medium Flesh
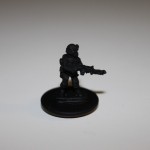
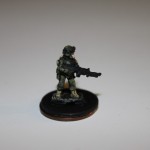
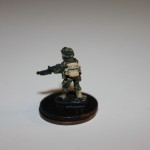
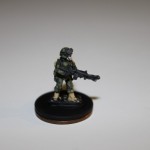
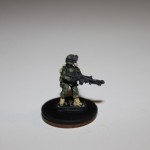
The 50/50 mix is simple. Just blend 50% Olive Green with 50% Medium Gray. Swirl them together and drybrush. This is your basecoat color.
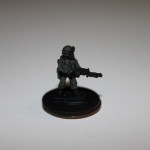
For step 4, you will be using Spanish Olive for the first coverage of camo “dots”. Cover about 50% of the mini. Don’t stress over precision.
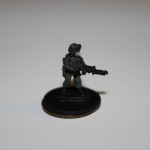
Paint the boots solidly in Camel color.
Cover the backpack in Camel. Use top down drybrushing to show some highlighting. For Step 9, you will use the Medium Gray to drybrush the gun and bring out some of the details against he all black primer.
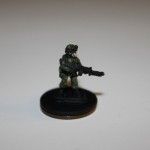
In step 10, take the basecoat mix (50/50 Olive Green and Medium Gray) and mix it with 50% twill. This will result in 50% twill, 25% Olive Green, 25% Medium Gray. Use this to dot as you see fit.
For drybrushing the hands, remember to go against the features to ensure there is a gap for the individual fingers to show. Use VERY LITTLE paint, and just keep going over it. Too much paint and you’ve lost your natural shadows where the primer shows through.
Apply two small black dots for the goggle surfaces. Place your white glue down. Apply evenly with small coffee stirrer, or the like.
Base: As in the previous post, use black glass-like gravel found in Craft/Hobby store (Michaels). Once the base of Acorn Brown has been applied, it will form a nice base coat.
Final step! Take your Desert Sand and highlight the base texture with very light drybrushing.
And there you have it! I hope you give boardgames and wargames a try. This truly is an opportunity to have an old fashioned good time without the need to plug anything in or even know what “log on” means. It is fun, engages the imagination, and hones the skill of detail orientation and making something with your hands. Drop me a line and let me know how your painting goes. Also, if you have a great technique you use, let me know. I am always interested in other people’s hard-learned simple techniques. See you at the table, my friends….


