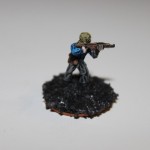
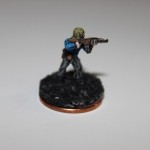
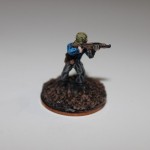
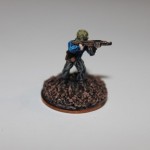
Miniature Wargaming Series- 3 Painting the Insurgents
by Steve Struebing on Aug.27, 2010, under technoPHOBE
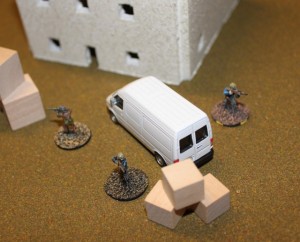
Welcome to the third installment of our wargaming series (focusing on Ambush Alley). Just a note before I begin about 15mm miniatures. There are tons of people out there who can make stunning, photo-realistic, perfect minis even at 15mm. 28mm minis can show a lot of detail and painting errors on the table top. However, 15mm minis are more forgiving (and are less expensive to get lots of figures out there). The world is zoomed out just a bit more in that scale. A perfectly painted table top is ALWAYS better, but I don’t have that kind of skill, so this is about how to get that pack of shimmering lead-free lead on the table and made “field grade”, as I call it (as opposed to “demo grade”). It’s not perfect, but at a glance, its good enough.
Miniatures Source:
The minis I am using here are from Rebel Minis. This is where I have also purchased my Regulars troops (the good guys).
Tools/Techniques:
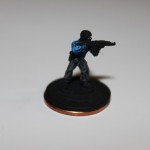
The primary technique used is called “drybrushing”. The intent is that you lightly brush on a LITTLE BIT of paint onto the high areas as the light would naturally fall on the higher regions of the model. Google “Drybrushing” or watch youtube. There are probably 1000 videos out there to get you started. The rule: dip your brush, and brush away virtually ALL of the paint. Then start lightly feathering on the paint across the grain of the high regions. If there are vertical bars raised, brush horizontal, for example.
3 colors of depth look really good, but I use 2 plus the black primer. The trick is using progressively less paint and lighter colors as you move up to the highest surfaces of the mini. Also, the rule is work from the inside out when painting the mini.
You’ll need
- Fairly fine paint brush
- Fine black stone (craft store. Looks almost like ground up volcanic glass)
- Black spray primer (hobby store)
- Penny (for the miniature base)
- Elmer’s glue for the mini/penny
- Minis
- Assortment of acrylic paint (get it at any craft store)
- Spray sealer (hobby store)
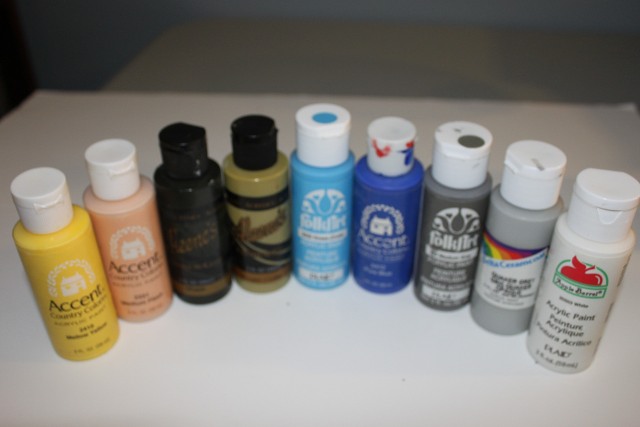
Here is the full assortment of paint I used for this mini:
- Pure White
- Black
- Dusty Khaki
- Ocean Blue
- Blue
- Medium Gray
- Quaker Gray
- Medium Flesh
- Acorn Brown (oops, didn’t make it into the picture)
Mini Prep
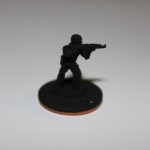
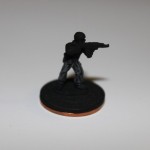
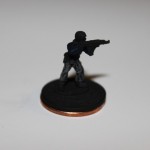
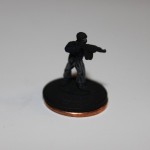
Cut away any of that extra metal hanging off the mini that is a result of the casting process. That crap is called flash. Next glue the mini onto the center of your penny. After the glue has dried, use your black primer. A couple coats sparingly, but cover fully.
Completing the Miniature Base
A little bit of work really goes a long way towards the overall look of the miniature. It gives the figure a real world look, and sets up a nice contrast for the rest of the mini detail. I’ve chosen fine black stone, and will dry brush 2 “sand” types of colors over the top.
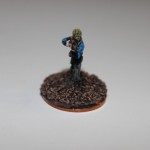
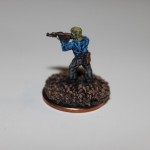
Completed Figure

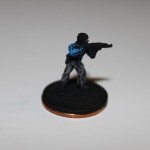
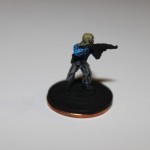
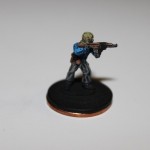
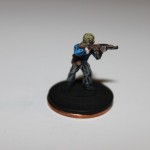
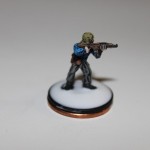
Paint black around penny edge, yellow to mark him as a "leader" in the game, and seal the mini. Done.
And there we have it. You can use all different mixes of pants and shirts colors. Mine are a good mix. Also, the minis are good to do in batches because you can be working on the next mini as one dries. It’s kind of a like an assembly line where you do all the same parts that are the same colors at once. You’ll have your baddies on the table in no time! Good luck!

