Miniature Wargaming Series- 2 Making Terrain
by Steve Struebing on Aug.21, 2010, under technoPHOBE
In the last post, we got a simple sense of what this whole wargaming thing is, and have our own 2 feet solidly beneath us (for those paying attention, its a 2 feet by 2 feet board). Now, lets get on to arguably the most fun part of the whole deal: Making Terrain.
As I mentioned in the last article, my grandfathers were great at modeling life in miniature. This is the appeal of meticulously detailed model railroads. While non static, once they are set up they are set up. This is where wargaming is set apart. You can reconfigure, and use the terrain to play a game. Well, let’s get cracking here. We have a city to build.
Foam Board Selection
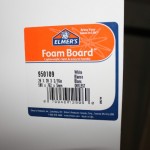
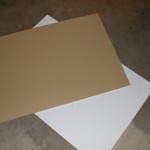
The first step is foam board for building our houses. Pick it up at local craft store. Lots of colors available, but brown, tan, black, and white are probably the best for you (depending on the region you want to model for your wargaming).
Cutting Foam and Scale of Minis
First, a note on scale. I am sure that it’s well posted somewhere, and there are lengthy dissertations on the matter, but I homegrew scale. First, I took a look at an upright standing 15mm miniature, and he measures approximately 3/4 of an inch. If an average man is 6 feet tall for these purposes, then its 2 feet per 1/4 inch. Thus, for a one story building at 10 feet per story, it should be 1 1/4 inches per story.
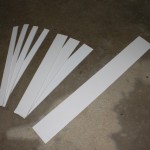
Prescribed Cutting Widths:
- 1 1/4 inches (for the reason noted above. For 1 story buildings.)
- 2 1/2 inches (for 2 story buildings)
- 4 inches (for roofs for buildings that are 4 inches long and wide)
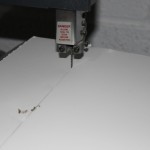
A bandsaw is simply magic for cutting foamboard. It is loud as hell indoors, so wear ear protection, but it cuts perfectly every time.
Measuring, Cutting, and Scoring the Foam
In this example, we are going to walk through the creation of a 4 inch square, one story building.
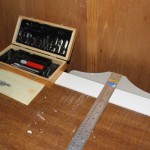
- T-Square
- X-Acto Knife
- Cutting Surface
- Measuring device (ruler, whatever)
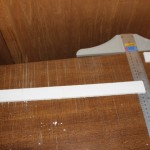
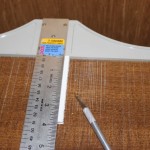
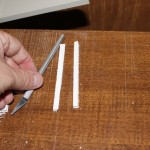
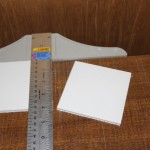
Take one of your 1 1/4 inch strips and for the FIRST measurement, mark 4 inches, plus 3/16 inch. This little extra is to account for the thickness of the cardboard when you fold your box so it will be perfectly square. This only has to be done for the first wall, because the additional 3/16 inch will glue to the opposite wall (covered later). Just remember the 3/16 inch for the thickness of the foam. You’ve got to account for it in several places.
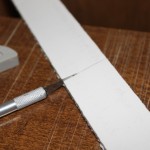
Now the scoring bit. This is to cut through the outer layer of paper and a bit of foam so you can bend it at an angle. DO NOT CUT ALL THE WAY THROUGH!
Test Fit and Cutting Windows/Doors
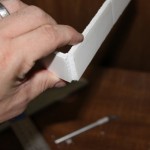
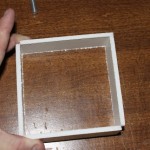
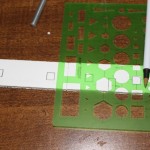
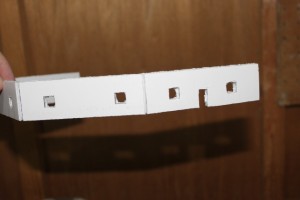
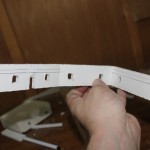
We’re starting to get somewhere now! Ok, next just do a fest fit to make sure the corners are square, and you’ll see how the extra 3/16 inch lip fits against the edge of the wall flushly. For windows, I have a little square stencil I use to draw squares and rectangles. For windows, put their center about 1/3 up the wall, not at the midpoint. If you cut them into the midpoint, you will see the roof supports through the window, which is unsightly. How DARE you. You could opaque the windows with some tissue paper in the back, but I am not that hardcore. Just use the damn 1/3 up rule, will ya?
Next cut out the windows and door carefully with your X-Acto knife.
Becoming a Roofer/Closing the Deal
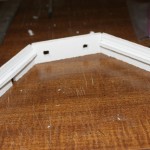
We’re now at the place where we are going to be prepping the roof supports. Its nice to have a slightly recessed roof so the minis look like they are down on it, and its nice when you stack other buildings on top. I recess it about 1/4 inch. First, we cut roof supports. These are thin strips that are 4 inches in length or less for this house. They obviously can’t be longer than a wall because the house won’t fold into a square otherwise.
Now, mark your lines for where the stips will go. 1/4 down from the top for the recession, 3/16 to account for the width of the roof, and another 3/16 for the width of the roof supports. I glue them in edge on.
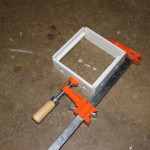
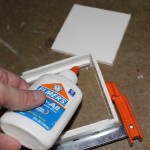
Now, we cut a 4inch x 4 inch roof off our other strip, apply glue to the roof supports, and let it dry. We are almost all done now.
Home Sweet Home
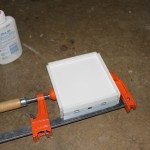
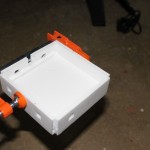
Now, we’ll put the roof on, and admire the handywork as it dries.
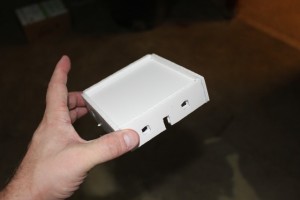
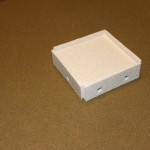
All built and dried it should look like this and be ready to remove from the clamp.
Texture, I didn’t even know her…
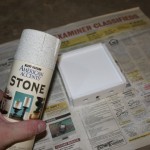
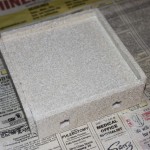
Now we apply a textured spray paint to give the house a stone look and feel.
Home on the Range, building your town.
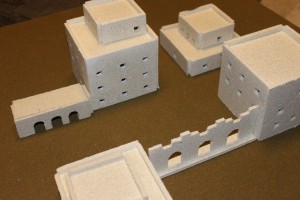
Well, you’ve done it. You’ve build your first building. Now, you can vary number of stories, width, etc., using the same technique. I really primarily rely on 4 inch, and 2 1/2 inch square buildings. They stack well, and can create a nice little town. Enjoy the tour…
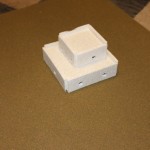
Oh wait? The STACK? This is a 2 1/2 inch square on top. You'll also use the 2 1/2 to roof. It's a good system!
Going into Mass Production, and Building The Metropolis
Build, build, build. Get creative with walls, decorations, and stuff lying around the house.
Accessorize for Realism
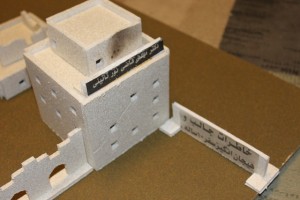
I don’t know a lick of Farsi, so I went to my favorite neighborhood kebab place and got a regional newspaper to make signs. The Kebab e-Kubideh was also delicious. The generally have them there. Look in the advertisements and cut some out for signage.
Finishing Touches
I grabbed some blocks from a craft store, grabbed some scale cars (N-scale, I think?!!) and have a nice little town where trouble’s-a-brewin. Happy Hunting!
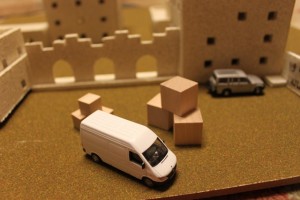
Looks like a delivery for ol' Polymythic. I hope its some chow. It's been a long day building a city from nothing..
I hope this shows you it really is not hard to get going. Your creativity will take you a long way. Look around the craft store. Imagine some of the things you’re about to throw away spraypainted black. If the shape is interesting, you can probably use it. I’m looking forward to taking a virtual tour of your tiny ‘ville sometime soon. In the next post we’ll paint up some baddies to introduce a little turmoil to our currently placid burg.
4/17/2012 Note: Found another blog whose stuff is just too good not to link in.
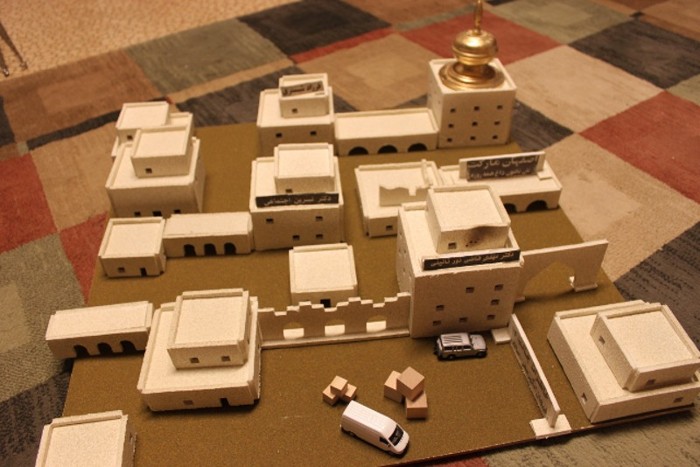
The lights are much brighter there, you can forget all your troubles, forget all your cares, and go DOWNTOWN!


August 21st, 2010 on 8:38 pm
Nice and neat tutorial.
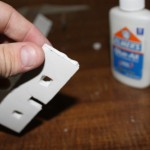
I’d suggest cutting a “V” in the foam core instead of a slit. This way, when you fold into the slit, you have nice rounded corners without the missing section.
Do you have a way to deal with the missing sections at the corners that you may not have described above?
Otherwise, your buildings look fantastic and incredibly accurate wise in measurements.
August 22nd, 2010 on 8:25 am
That is a really good idea on the “V”. I will give that a try. As far as replacing the missing part of the corner, I generally don’t sweat it much. The effect would obviously worsen with thicker foamboard. If I really had to, however, I would just cut 3/16 inch wide (foamboard width) strip the height of the wall, and glue it into the corner to fill in the gap completely. The spray stone covers imperfections well and would hide that seam,
Up next: I am going to make some corrugated-roof buildings next using Starbucks sleeves as the corrugation using a V-corner technique!
August 22nd, 2010 on 9:07 pm
Well, it’s not a big issue. Just thought I’d throw that tip out there. 🙂
With all of your buildings having that corner section it looks intentionally architecture wise- as if that’s the style of buildings in this setting. They fit.
I do love your work you’ve shown here and can’t wait to look at more!
August 25th, 2010 on 5:11 pm
Wow, looks amazing… what’d you use for that gold turrent?
Doesn’t look like foam board
August 27th, 2010 on 2:53 pm
Excellent stuff, my man. Very applicable to any kind of tabletop gaming.
September 11th, 2010 on 10:06 am
You could use a modeler’s epoxy putty. That way you can carve chunks out for a weathered look. Great post Steve.
May 8th, 2012 on 2:11 pm
Your insurgent “uniforms” look suspiciously like the Iraqi National Police uniforms. With the recent spate of “green” on “blue” shootings in Afghanistan, you are accurately recognizing an emerging threat.
October 7th, 2012 on 2:00 pm
[…] am going to take you through the process of making a scale staircase for my model cities I have put in previous posts. Making them through other means was a major pain! Actual completed […]