Tag: prototyping
3-D Printing: Thought to Thing at Lightspeed
by Steve Struebing on Oct.07, 2012, under technoPHILE
Intro
Imagine a world where anytime you needed an item, you would just download a drawing of the thing from the web, or draw it yourself, feed it into a machine, and you’d have it. Well, we’re just about there (within reason of complexity and materials).
For several years a revolution in prototyping/manufacturing has been going on through various techniques of 3-D Printing. That name is often confusing to people who quickly envision printing 3-D images (needing 3-D glasses) with a 2-D printer. While that may be cool, this is way cooler. Way, way, cooler. This is 3-D building. I will continue to call it printing, but it’s actually building up the object so you finish with a tangible REAL item.
The machines needed in years prior required big dollars and were relegated to corporations and individuals like Tony Stark (that’s Iron Man, for those whose fingers may be off the pulse of contemporary films). Hobbyists had also been hacking away to bring this technology into their garages.
A while back, some of my friends and I attended a build session at HacDC for a machine called a RepRap. <tangent>This is a 3-D Printer whose intent is to eventually print itself. Collect the pieces of your brain off the floor and walls and come back to me </tangent>. It seemed that the 3-D hobby space was coming a long way…and fast.
Disclaimer: I am going to try to keep this whole deal simple for beginners. I am not going to talk about support material and overhangs, talk about stepper motors, etc.
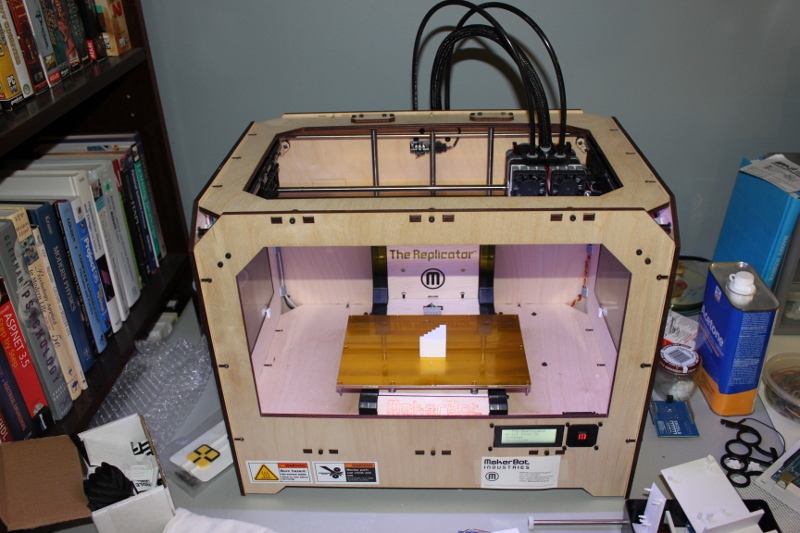
Simple Concept: This is not like starting with a block of something like wood and carving, filing, or drilling it out to shape it. That is a subtractive process. This is an ADDITIVE process: building up. The 3-D printer I will be discussing heats up a string of ABS plastic (stuff LEGOs are made of) and pushes it through a little nozzle (fancy name: extruder). 3 motors put the nozzle in the right place (one motor per axis: X, Y, and that glorious new Z). Now, how the hell does it do that? I am going to take a liberty that some people will flag me on, but this is for beginners. You know when you hold a relaxed slinky and it is a cylinder? If it had a base under it then you would have a leaky cup, right? BUT, when you uncoil it, it’s a long string of plastic. That’s kind of how it works. (Note: the 3-D printed cups don’t leak though)
When MakerBot industries released their 3rd generation 3-D printer the Replicator, it was go time for this hacker. By the way, this was funded by some of the proceeds of the HALO project (thanks again Humana and Instructables.com!!!)
Making a 3D Model:
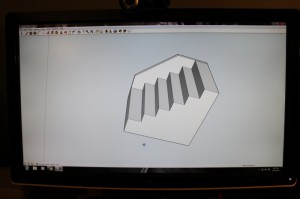
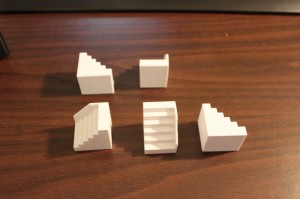
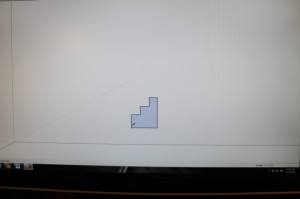
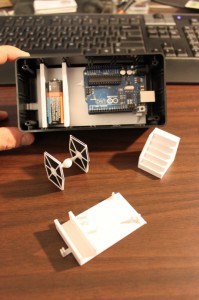
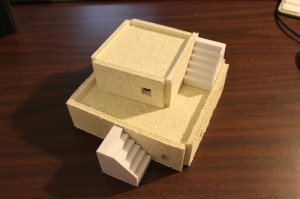
I am going to take you through the process of making a scale staircase for my model cities I have put in previous posts. Making them through other means was a major pain!
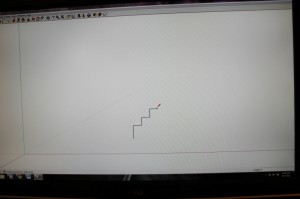
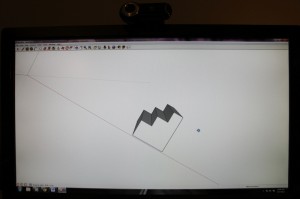
Just like virtually every other aspect of this stuff, 3D Modelling is a topic in and of itself. There are many tool alternatives out there. I use SketchUp (used it to model my basement, logos, and of course stuff to print). It consists of creating a series of lines, called “edges”. Once these edges create a closed shape, you’ve created a “face”. Point A->B is a line (edge). Point B->C is now an angle (or a line with a hinge) Point C->back to A. TRIANGLE…et voila! A close shape also known as a “Face.”
Once you have a “face”, you can push or pull it in the tool to make an object of depth. Like if I took a circle and it left a trail in the air, if I lifted it straight up, it would make a cylinder. You can then export the 3D model into a file format called a .STL file (note: using an external plugin you will have to install). I see your eyes closing… Look, all those points we made to describe edges and faces are captured into a file as x,y,z positions.
3-D Model into Tool Commands:
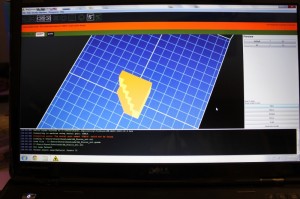
The tool software for my machine (ReplicatorG) takes the 3-D STL model and starts generating the way the extruder should move to make that object (starting from the bottom up).
It “slices” that model up into thousands of 2-D cross-sections. Like if I were to take a cross-section of an orange at the base, it would be a small circle. In the midpoint, a large circle, and as I approach the top, smaller and smaller circles. This is what is going to be printed. These concentric circles in our orange case are what the extruder is going to lay down in plastic through a “go from here to there” language called G-Code.
Example of this somewhat cryptic stuff:
M103 (disable RPM) M73 P0 (enable build progress) G21 (set units to mm) G90 (set positioning to absolute) G10 P1 X0 Y0 Z0 (Designate T0 Offset) G10 P2 X33 Y0 Z0 (Designate T1 Offset) M109 S110 T1 (set HBP temperature) M104 S220 T1 (set extruder temperature) (temp updated by printOMatic) G55 (Recall offset cooridinate system) G1 X-2.0 Y13.65 Z0.14 F3360.0G1 F1200.0 G1 E11.53 G1 F3360.0 M101 G1 X-2.0 Y27.82 Z0.14 F2214.0 E12.145 G1 X-1.6 Y28.22 Z0.14 F2214.0 E12.17G-Code to Object
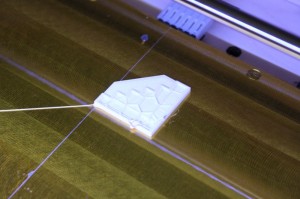
The Replicator heats up to the prescribed temperature based on the material to be used (again, its ABS LEGO-stuff plastic). Following the G-Code “go from here to there” instructions, it lays down the plastic on the build platform creating the bottom of the object. Once the first layer is done, the machine drops the platform down just a teensy bit, and does the next layer…and again..and again.. and we’re building up an OBJECT IN 3-D!!!!!!
Object
The machine does not necessarily fill in the whole object. You can configure it to just lay in a honeycomb pattern so you still get rigidity and use less material.
Once the build is complete, you can pop it off the build platform, and you’re holding a REAL, 3-D durable plastic object. There is a website called Thingiverse where tons and tons of items are free for download and where you can contribute your models back to the world.
Summary:
The awesomeness of this fabrication technology cannot be overstated. For a prototyper/tinkerer like me, it’s like having access to splitting an atom. It’s a game changer. It’s the future in all of its promise and peril. As you let your mind run out to future states you can envision custom-fabricated limb-replacements on demand, or armies of printing robots reproducing and taking over the globe. We’ll see where we end up, but either way, this is some fascinating technology. Now, time to go install that coat hook by the door. Oh wait, I have to print it first…

